Bunny in a Carrot Blanket
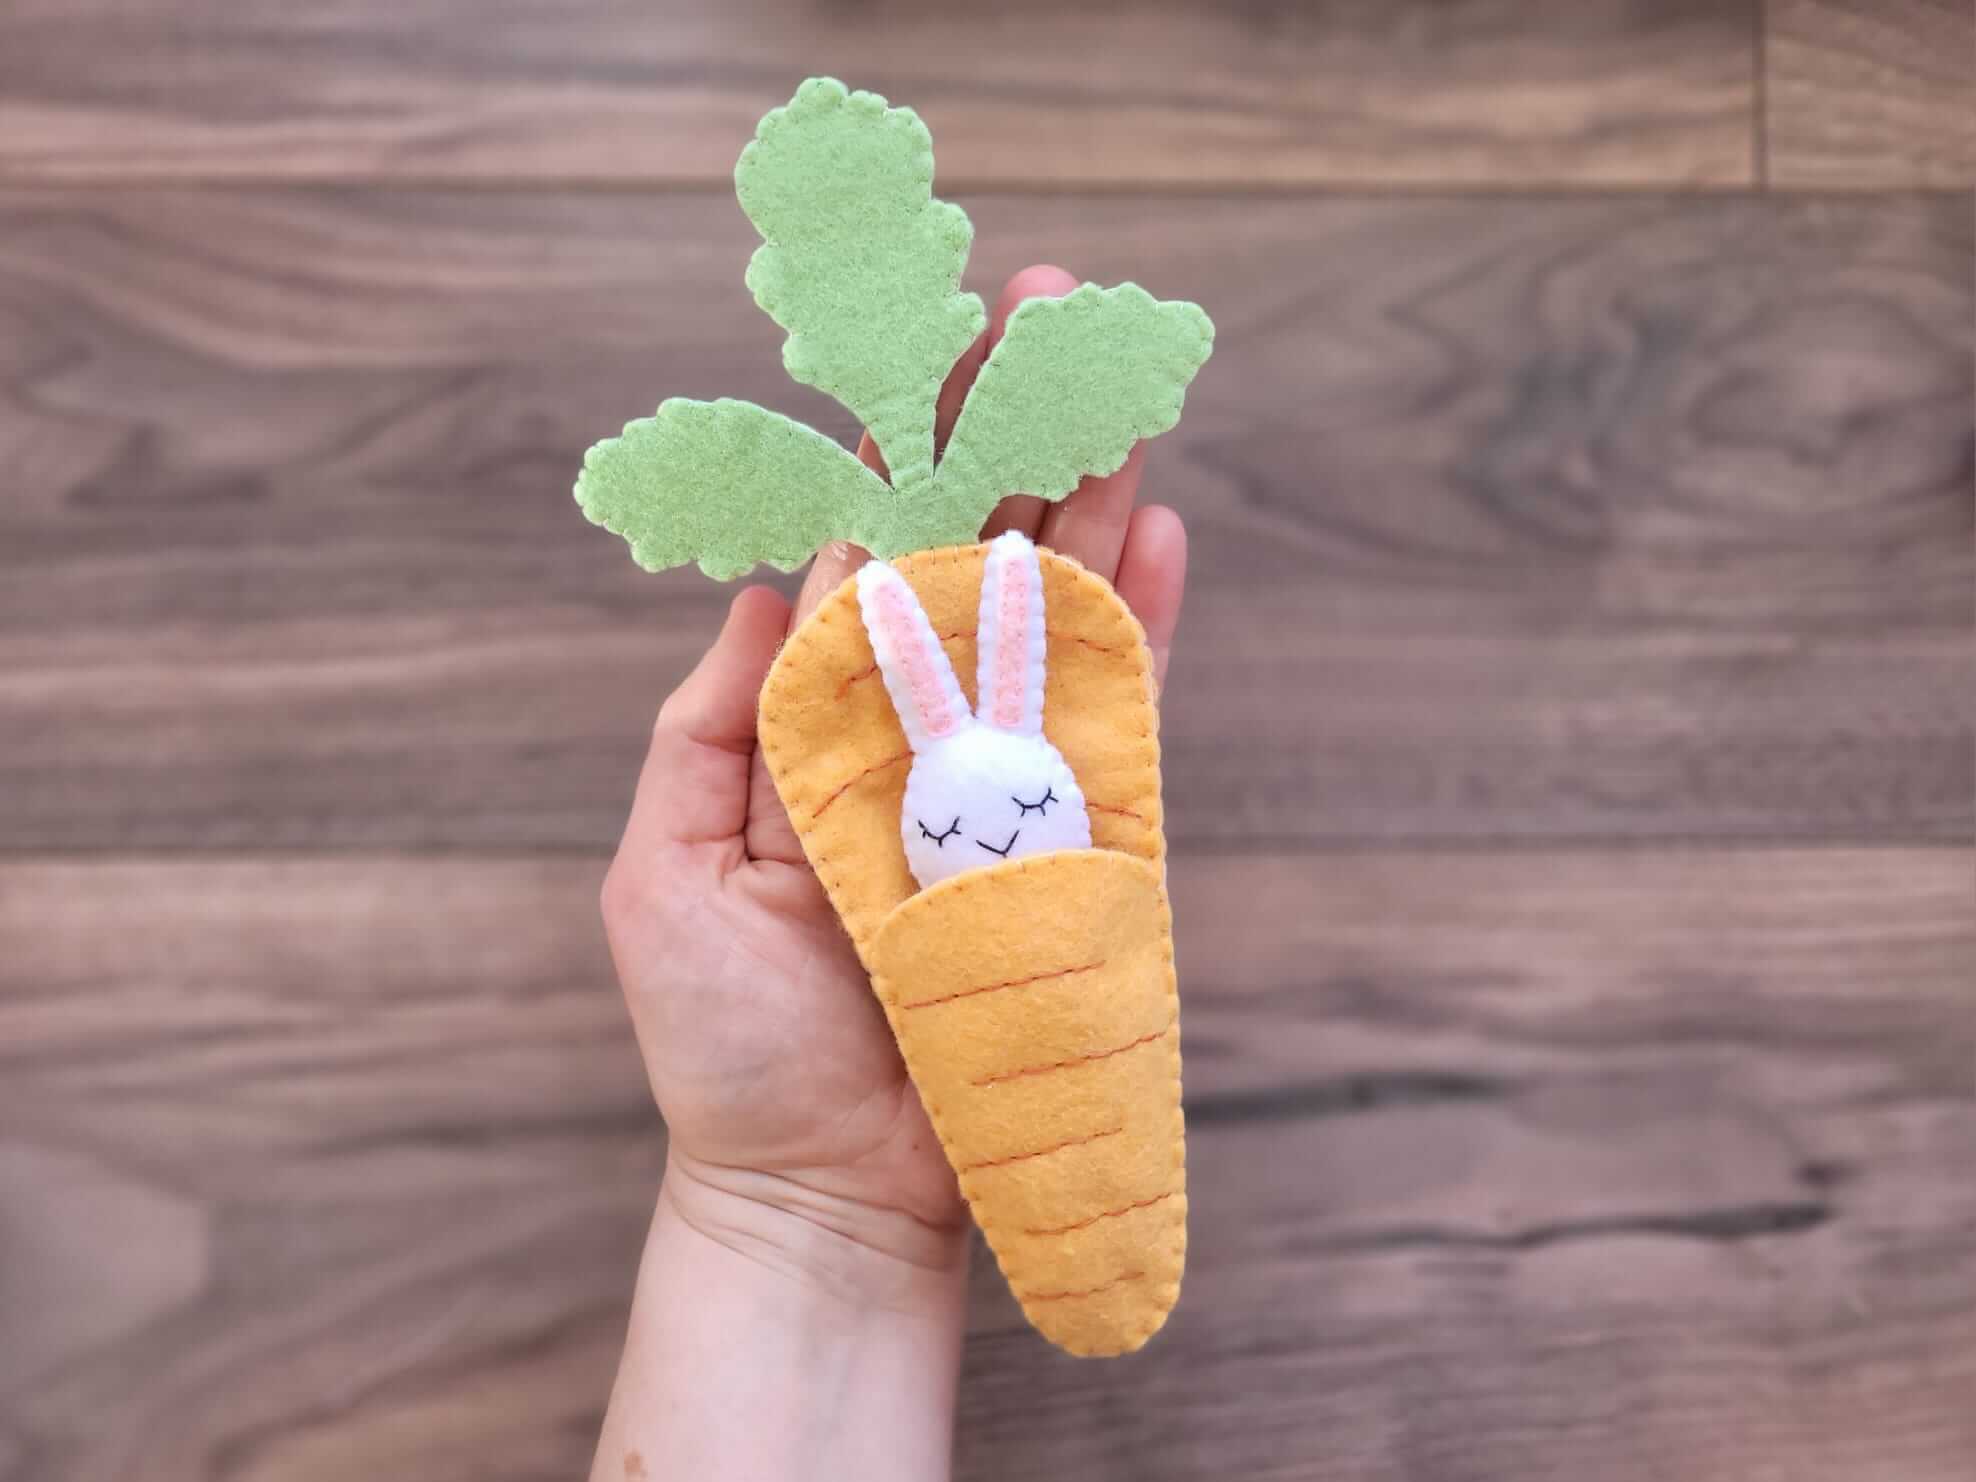
If you're a parent, chances are you're starting to think about Easter egg hunts, chocolate bunnies and Cadbury mini eggs. While a cute felted bunny toy may not satisfy your little one's sweet tooth, it's sure to keep them busy and get them into the Easter spirit – without the crash. Follow the instructions and template below to create your own simple “Bunny in a Carrot Blanket” for your child's Easter basket.
Materials:
- The Bunny in a Carrot Blanket template (Note: You can also upload the template to your Cricut machine if you have one.)
- Sewing needles
- A pair of sharp fabric scissors
- Acrylic crafting felt in orange, green, white, and pink
- Sewing thread in various colours to match your colour palette
- Fibre fill for stuffing
- Stuffing tool, such as a chopstick
- Glue gun and hot glue sticks
- Disappearing ink marker to add guides for stitching details
Bunny in a Carrot Blanket Template

Instructions
I am using a Cricut maker to cut out my felt pieces, but you could also print the template and attach it to your felt pieces, tracing with your disappearing ink tool and cutting using your fabric scissors. If you are using the latter method to cut your felt, be sure to attach your templates to your felt using pins to avoid slipping while you are tracing and cutting.
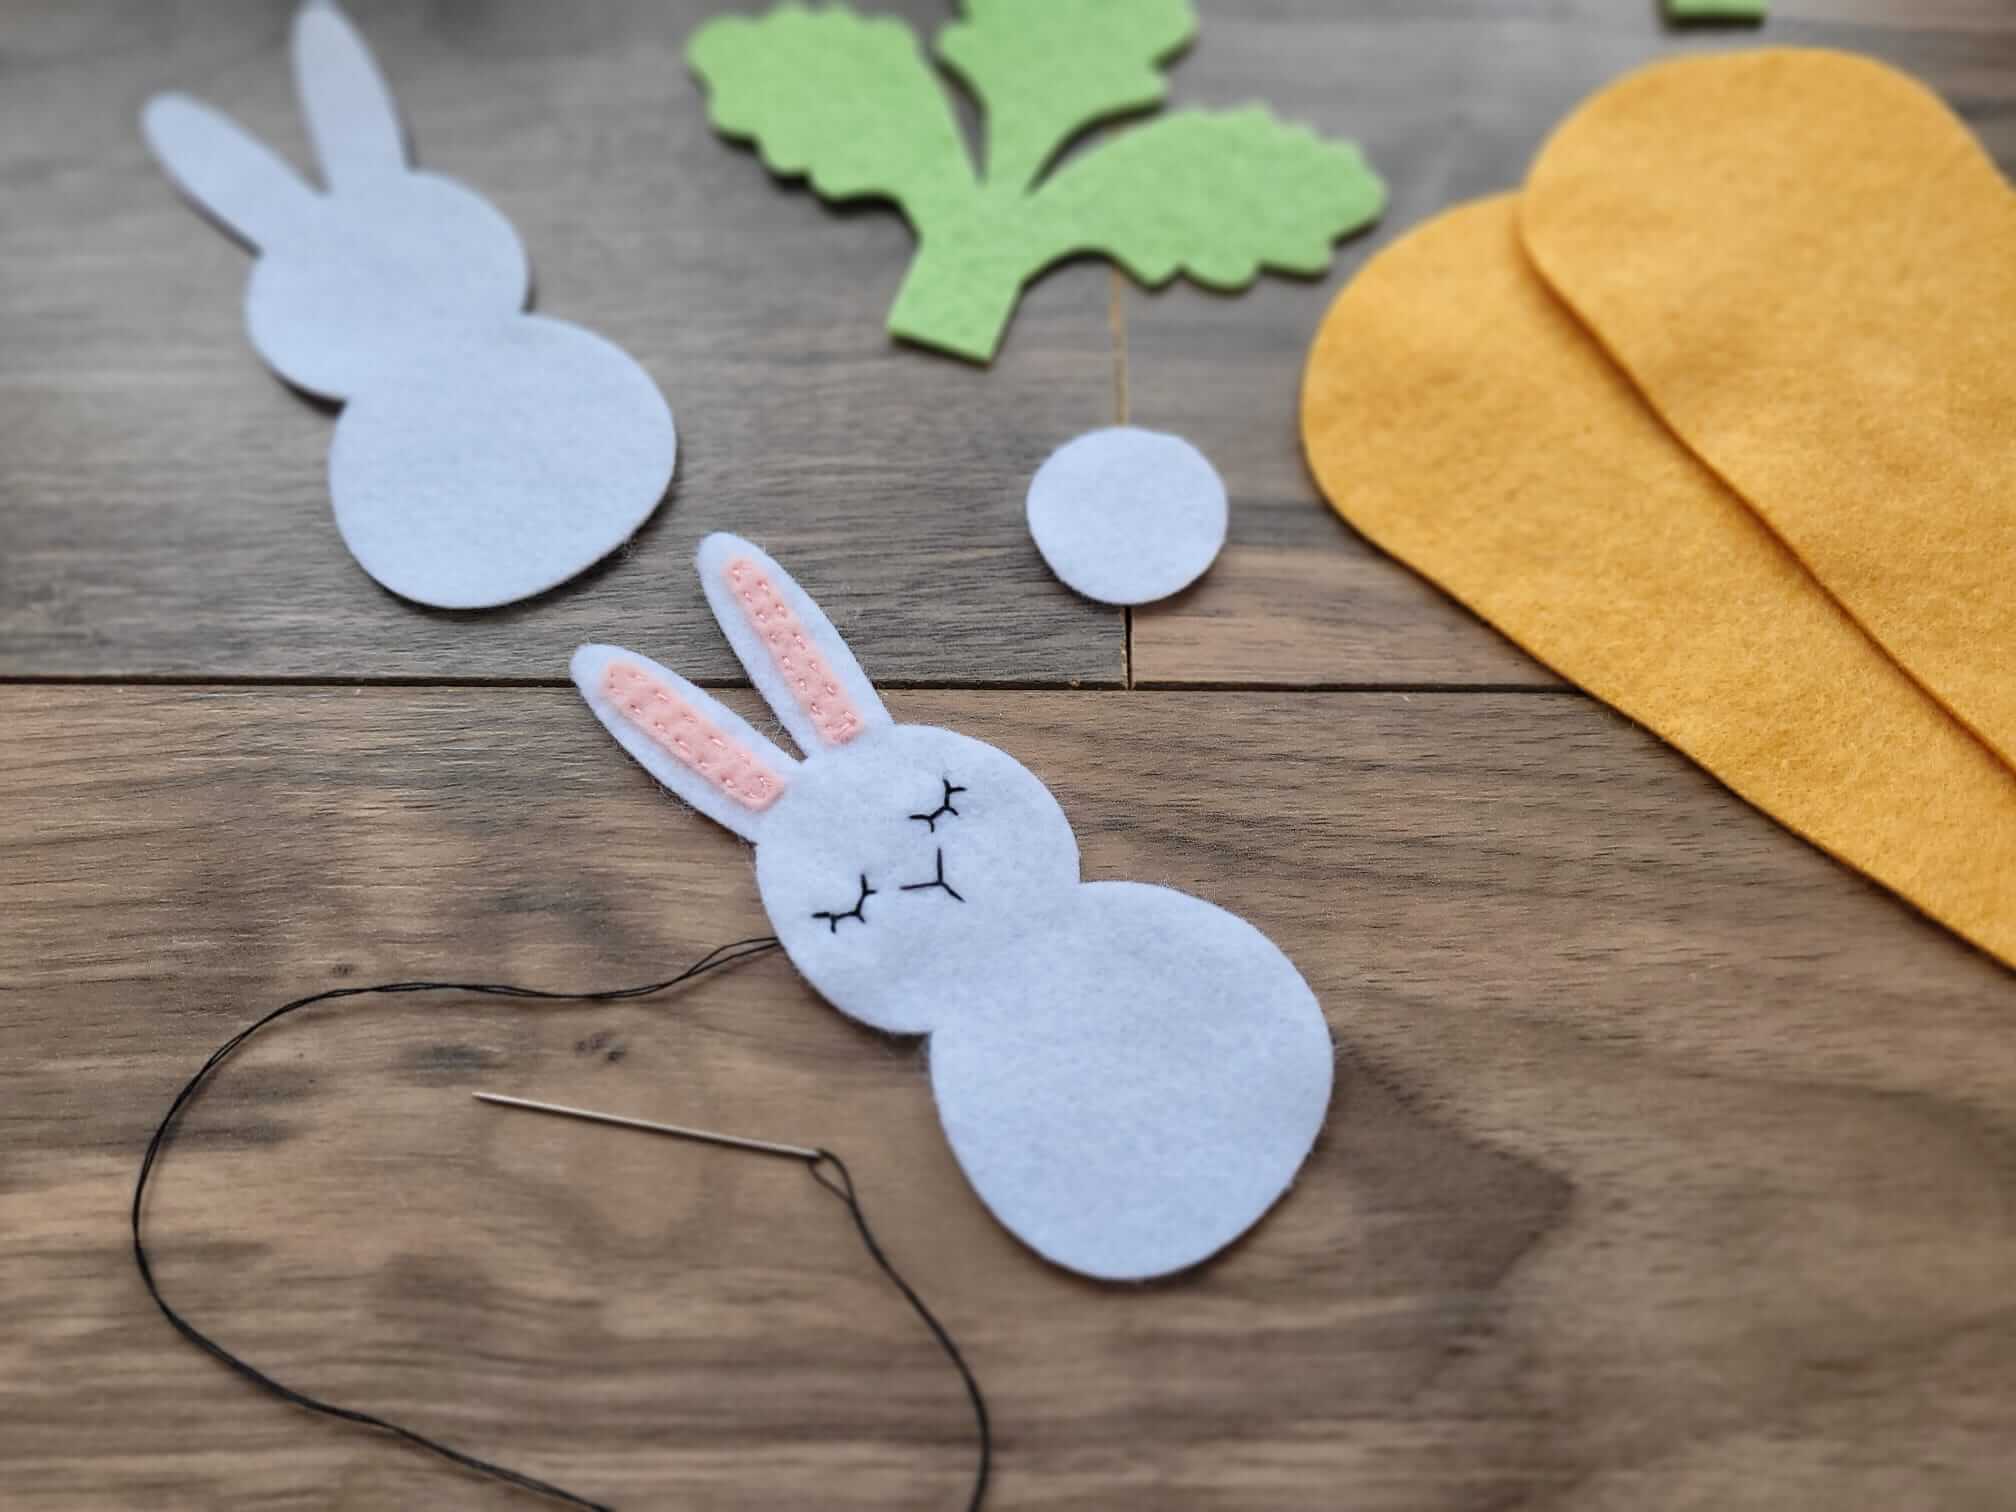
Once your felt pieces are all cut in the appropriate colour, you can begin stitching and assembling. I decided to begin with stitching together the bunny. Place the inner ears (two pink pieces) in the middle of the outer ears on the white bunny silhouette. Using pink thread and a running stitch, attach the inner ears to the outer ears. Next we will add the facial features using black thread. Add a simple nose and two closed eyes using a back stitch.
You can learn how to achieve all of the stitches in this tutorial by visiting the links below:
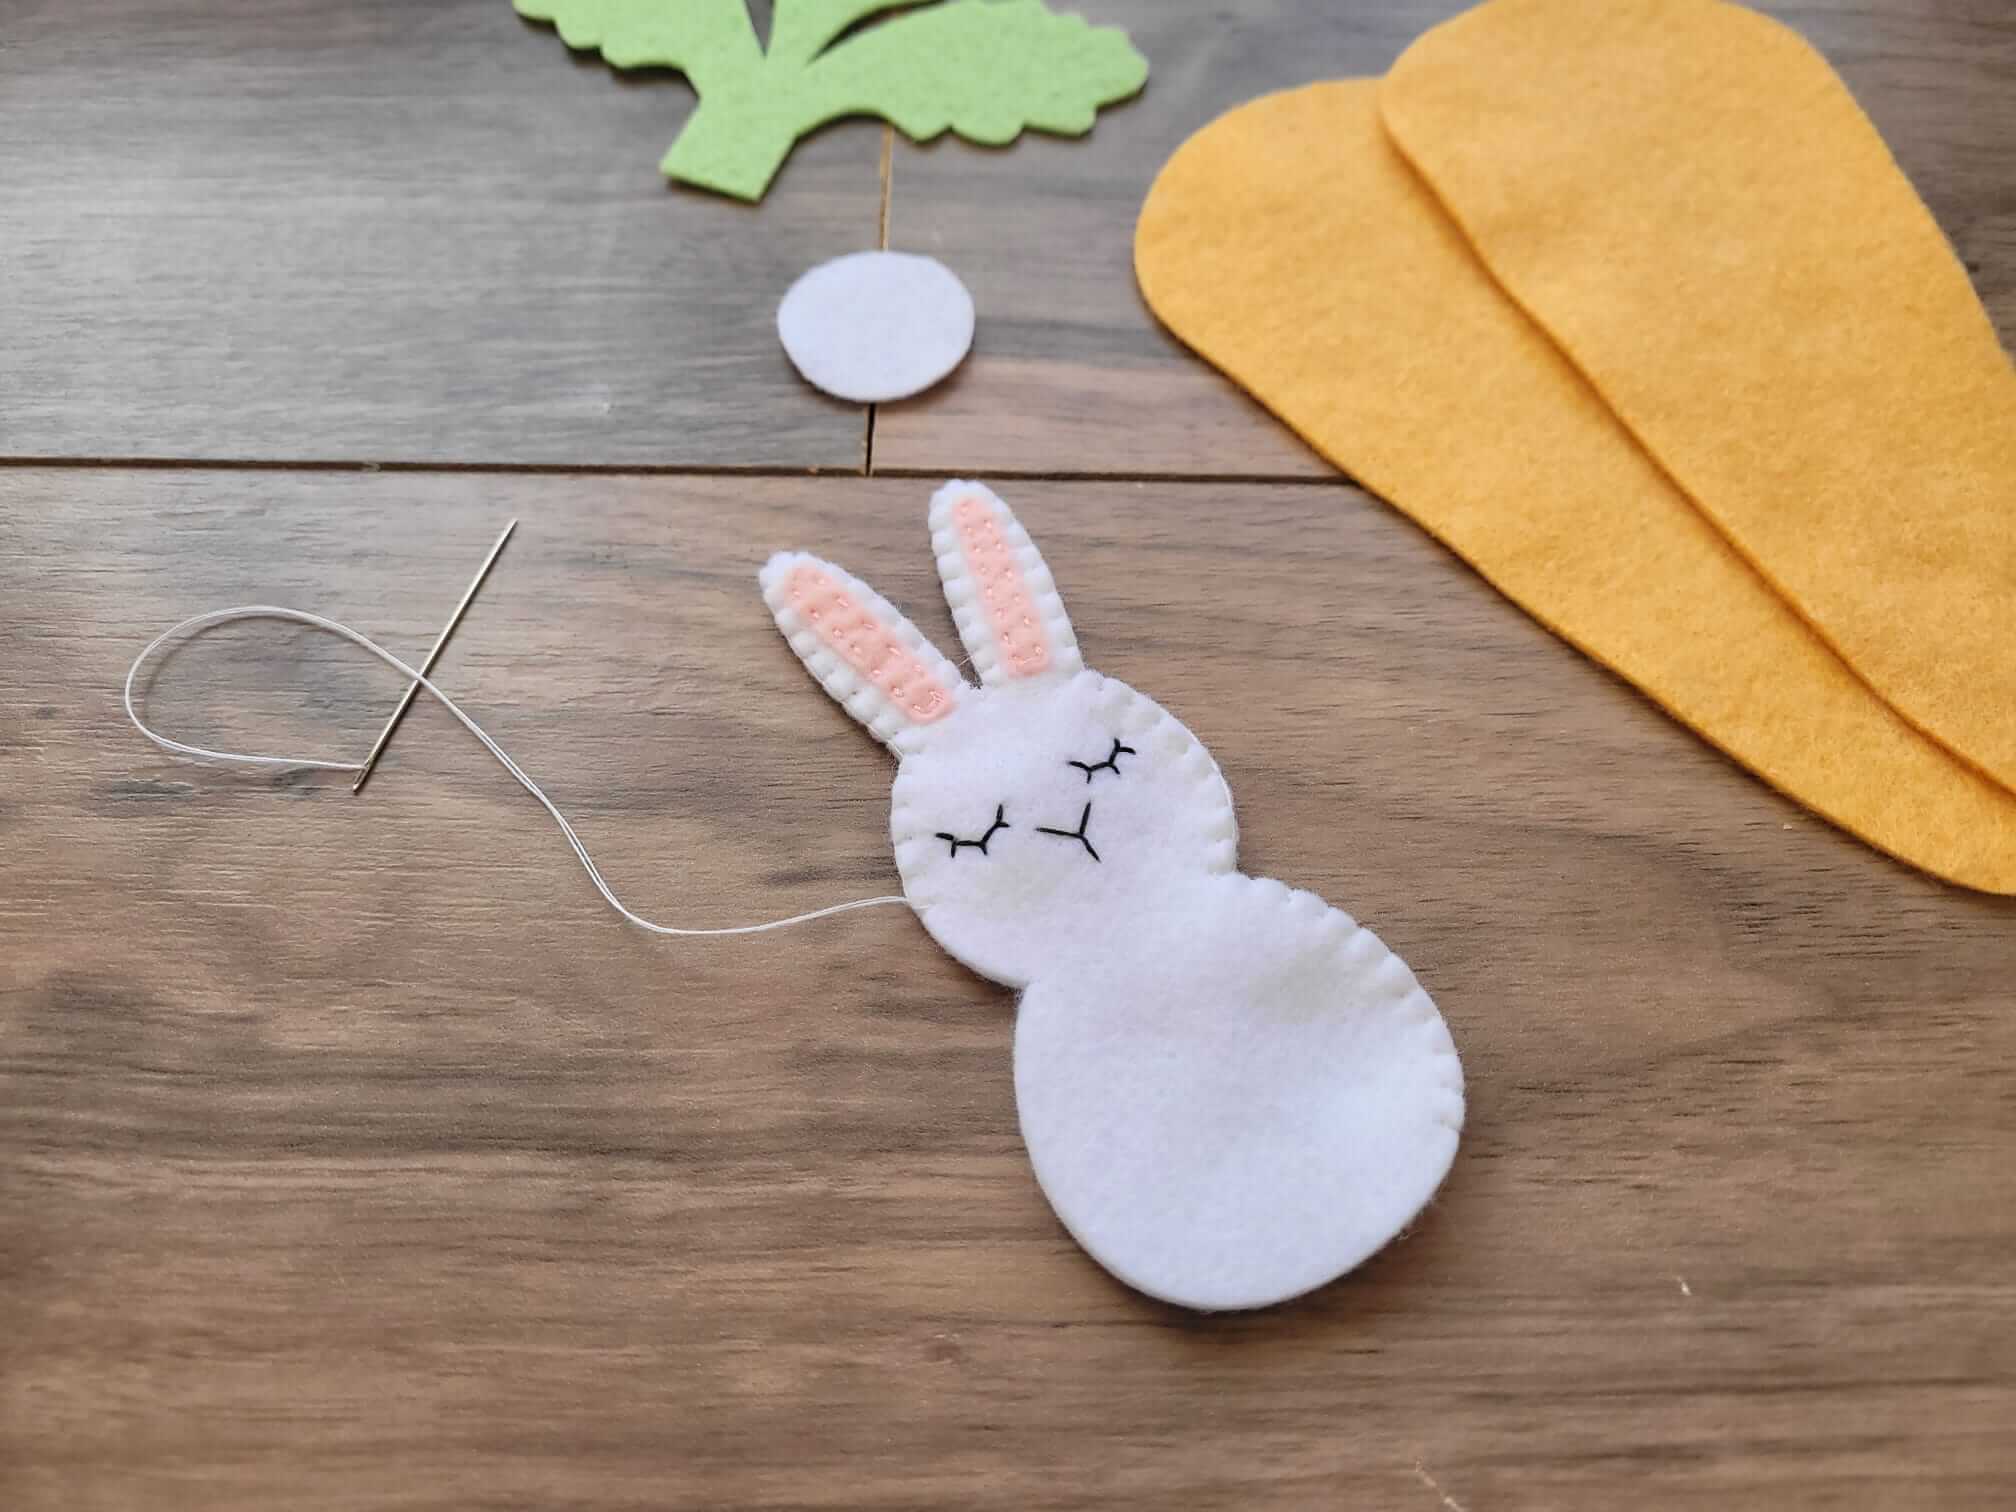
Next we will stitch the outer edges of the two white bunny silhouettes together using white thread and a blanket stitch. Be sure to leave a small hole at the end to stuff the body of the bunny with fibre fill. You may wish to use your stuffing tool to get enough fibre fill into the smaller spaces, such as the ears.
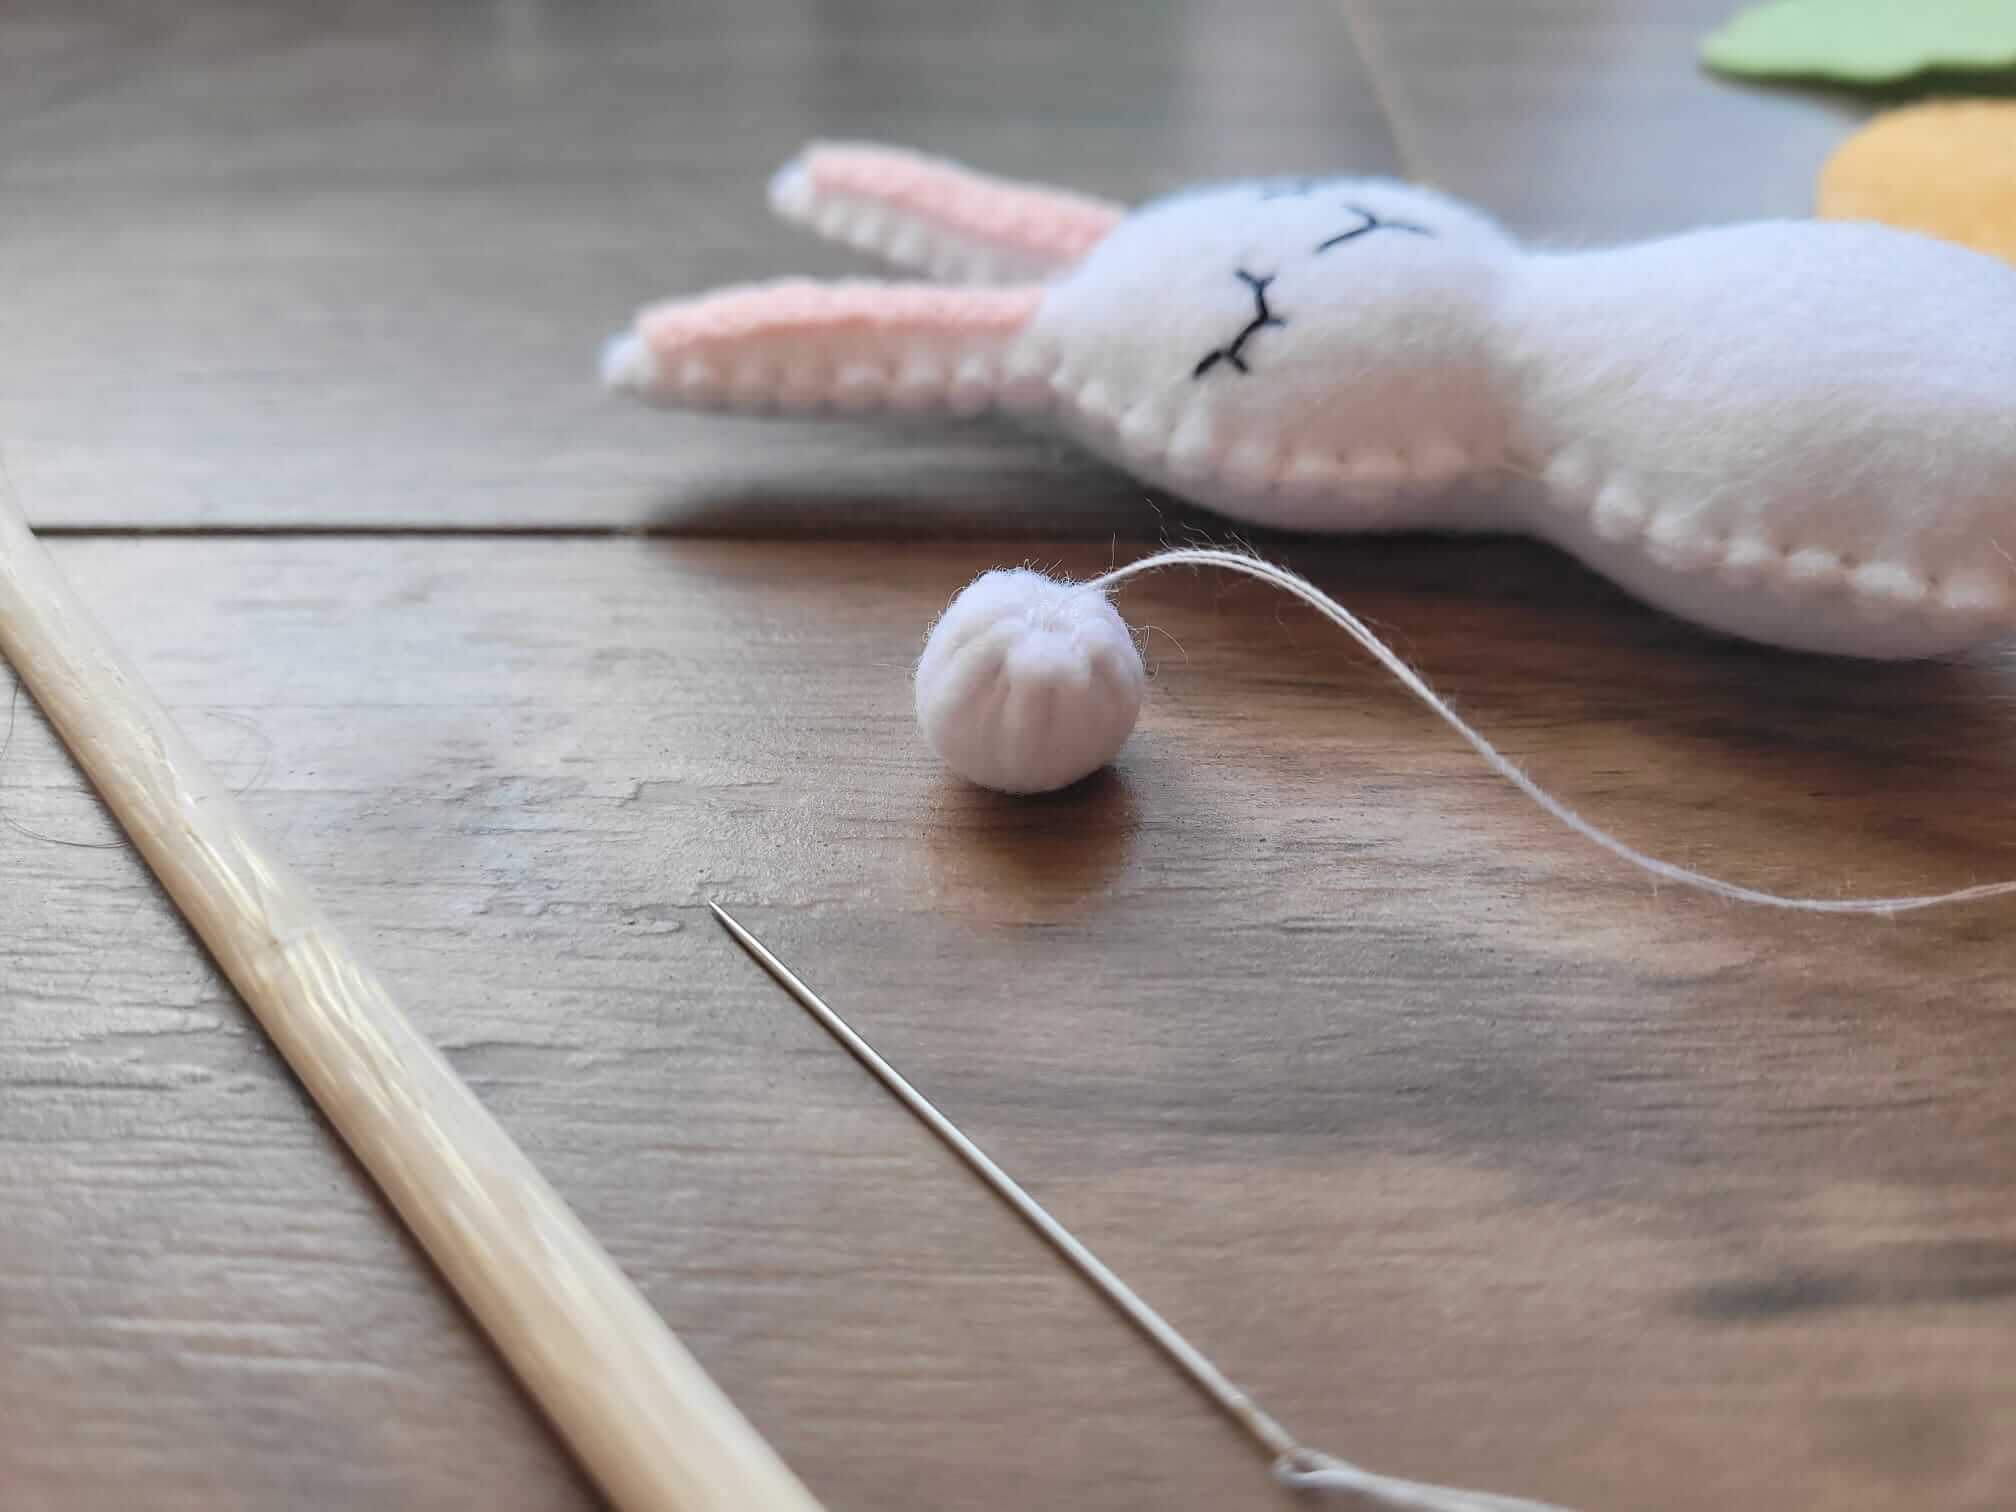
Once the bunny silhouettes are stitched together and filled, we need to add a little cotton tail. Grab the white felt circle from the template and add a running stitch all the way around the edge and pull your stitch tight. This will cause the circle to close. Leave a small space to add some fibre fill and add a stitch to close the tail. Attach the tail to the back of the bunny using a small dab of hot glue.
Next, stitch together the two green pieces that will make up the carrot top/foliage using a blanket stitch, and set aside.
You may choose to include some embellishments and details on the outer portion of your carrot blanket. I added some dark orange back stitches to make it look more like an actual carrot and to increase visual interest.
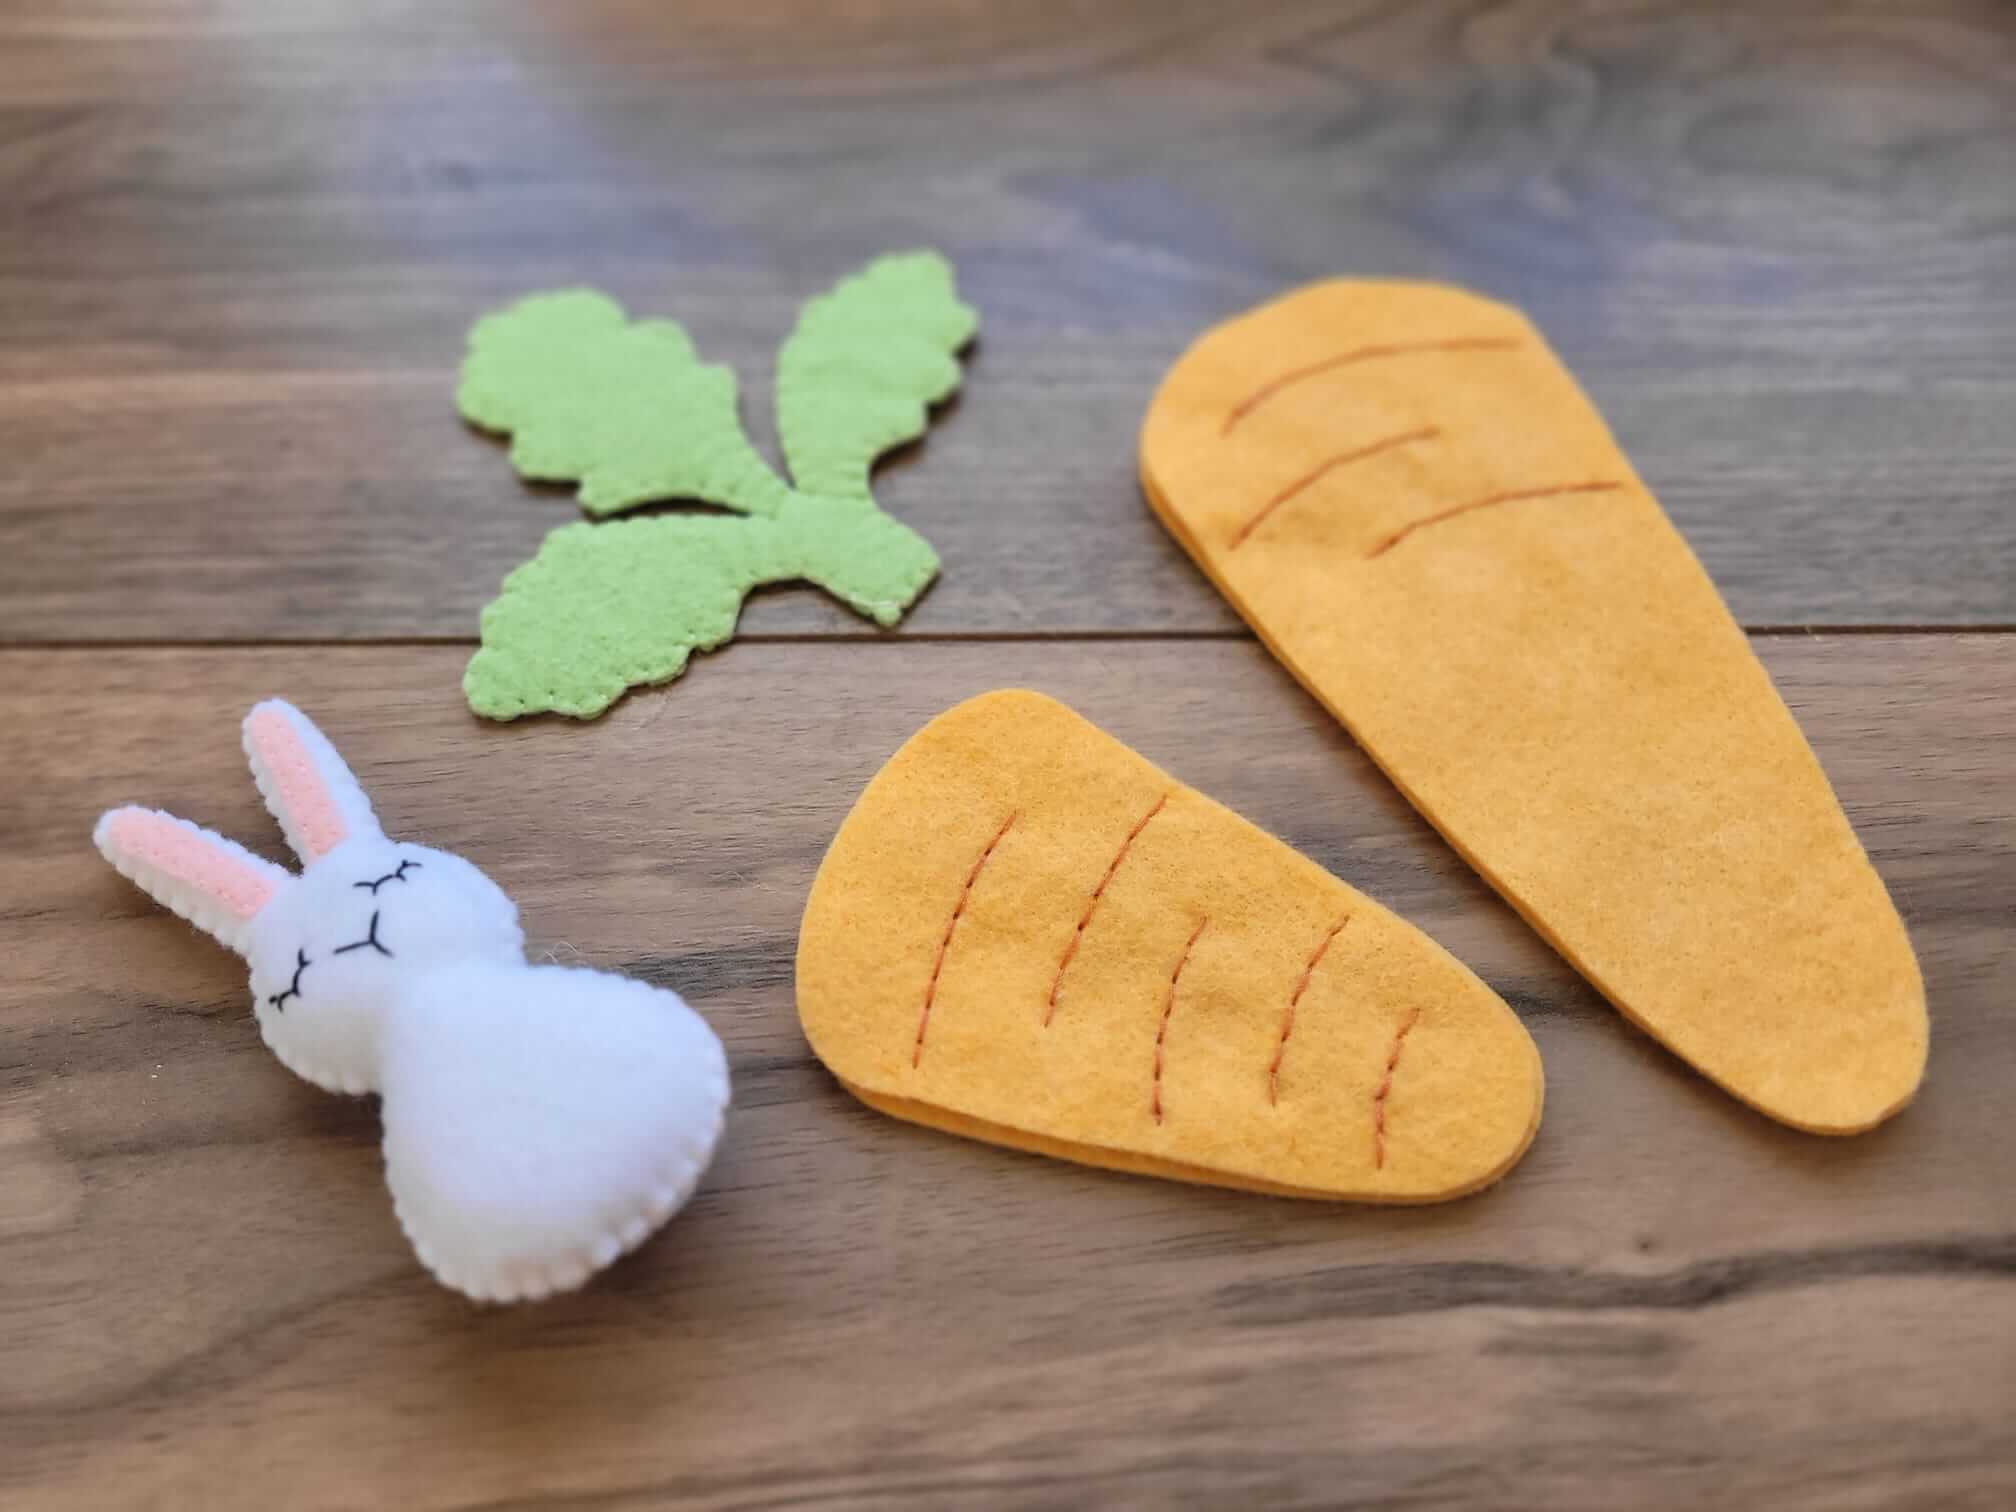
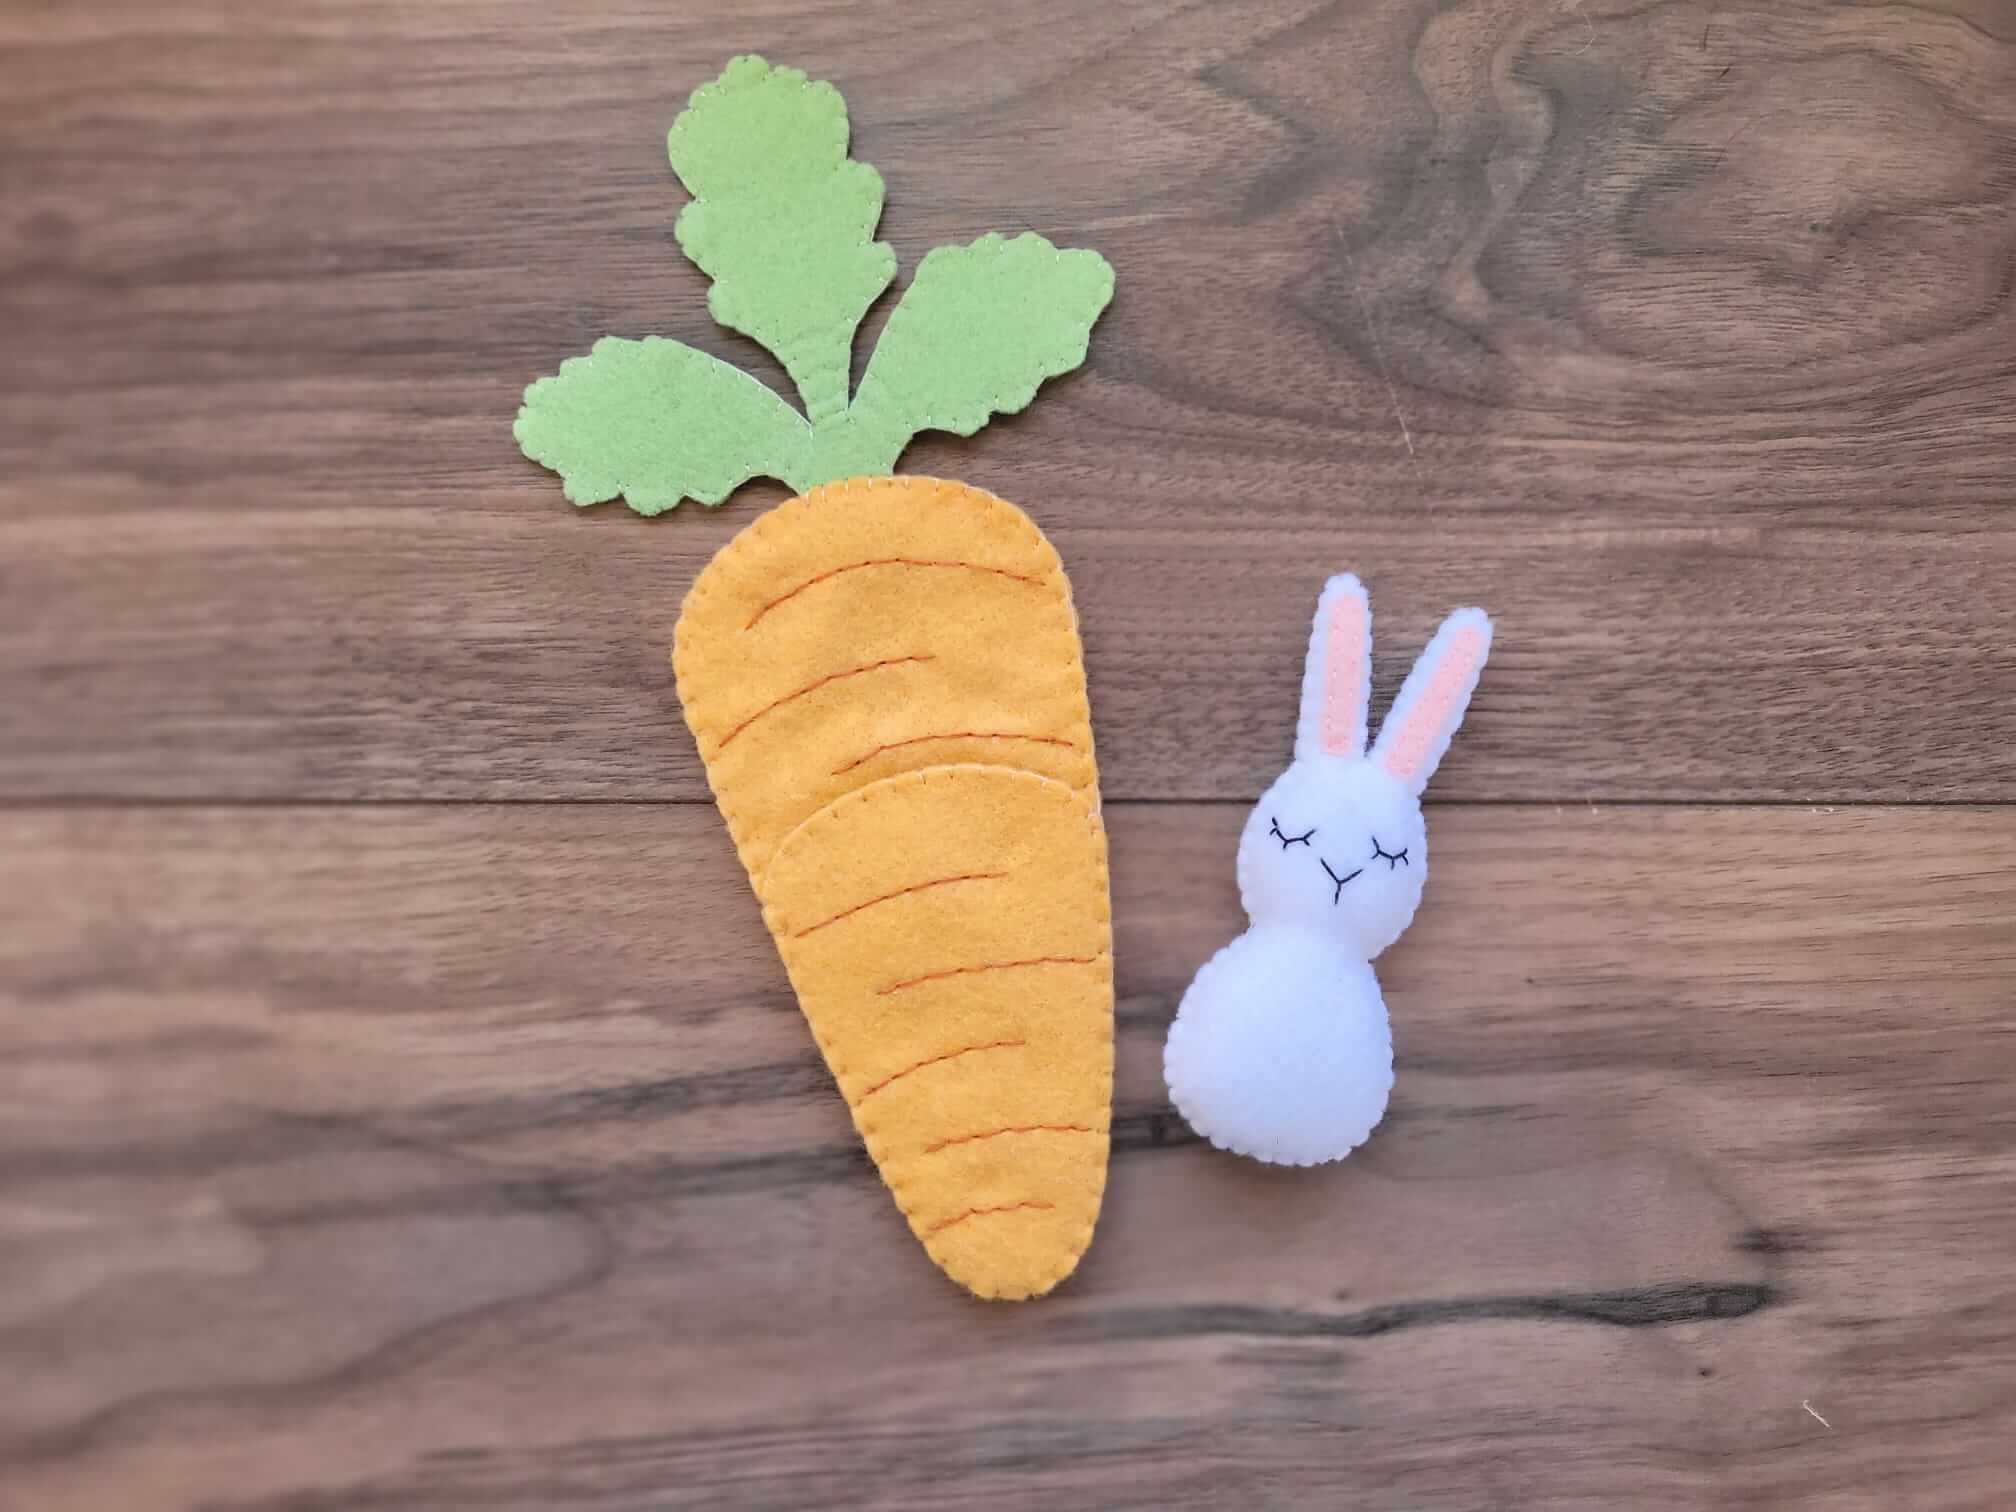
It's time to put everything together with blanket stitching. For the large pieces of the carrot (back pieces), insert the foliage before closing the stitches. You can attach the carrot top using a running stitch. Using the bottom of the carrot as a guide, line up the smaller carrot pieces with the larger ones and stitch them together on the outer edges. Be sure to leave an opening at the top of the smaller carrot pieces for the bunny to be inserted (just like a sleeping bag or pocket).
Put your bunny inside his carrot blanket and you're done! Did you try this simple and fun Easter project? If so, be sure to snap a photo, share on social media, and tag @the_felt_store and @the.felted.fawn.
Happy crafting and Happy Easter!
 USA
USA CANADA
 EUROPE


Leave a comment